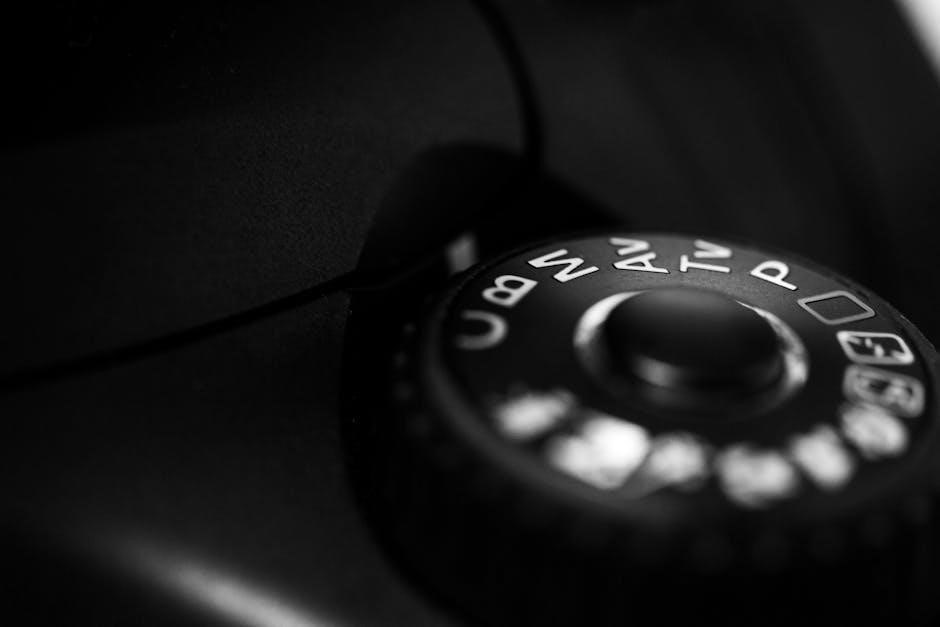
Manual camera settings offer photographers precise control over aperture, shutter speed, and ISO, enabling creative freedom and understanding of light, focus, and exposure for tailored results in every shot.
Why Use Manual Mode?
Manual mode empowers photographers with full creative control over their camera settings, allowing for precise adjustments to aperture, shutter speed, and ISO. This mode is essential for capturing images that align with your artistic vision, especially in challenging lighting conditions where auto modes often fail. By mastering manual settings, you gain consistency in your results and develop a deeper understanding of how light interacts with your camera. It encourages intentional photography, forcing you to think critically about each shot. While it requires practice, manual mode unlocks creative freedom, enabling you to overcome the limitations of automatic settings and produce images that reflect your unique perspective. Whether you’re a professional or an enthusiast, manual mode is a powerful tool for elevating your photography skills and achieving exceptional results.
Benefits of Shooting in Manual Mode
Shooting in manual mode offers numerous benefits, enhancing both the quality and consistency of your photographs. It provides unparalleled control over exposure, allowing you to fine-tune aperture, shutter speed, and ISO to suit any scene. This level of customization ensures that your images reflect your creative intent, whether you’re capturing sharp landscapes, dynamic motion, or low-light scenes. Manual mode also fosters a deeper understanding of photography fundamentals, such as the exposure triangle, which is crucial for professional growth. Additionally, it reduces reliance on automatic settings, which can often produce inconsistent results. By mastering manual mode, you can overcome common challenges like overexposure, underexposure, and unwanted noise, leading to more professional-looking photos. This skill is invaluable for photographers aiming to push their creativity and technical precision to new heights.
The Exposure Triangle: A Comprehensive Guide
The exposure triangle, comprising aperture, shutter speed, and ISO, is essential for mastering manual photography. It guides the balance of light and detail in every shot effectively.
Understanding Aperture and Its Impact on Photos
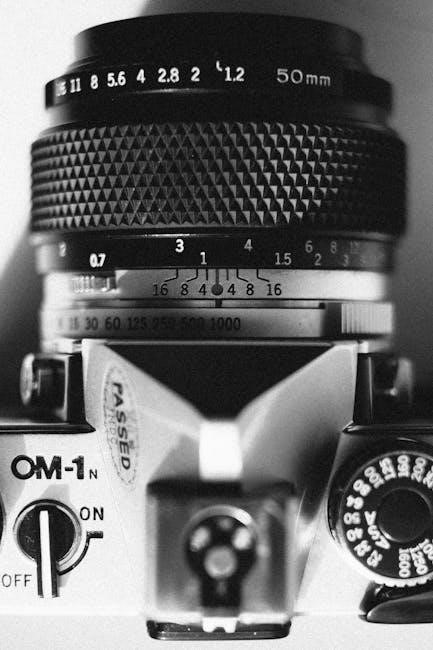
Aperture is a fundamental element in manual camera settings, controlling the amount of light entering the lens through adjustable f-stops (e.g., f/2.8 or f/16); A lower f-stop value signifies a larger aperture, allowing more light into the camera and creating a shallower depth of field, ideal for isolating subjects in portraits. Conversely, a higher f-stop results in a smaller aperture, letting less light in and keeping more of the image in focus, perfect for landscapes or group photos. Balancing aperture with shutter speed and ISO ensures optimal exposure. Mastering aperture enables photographers to achieve creative effects like bokeh or sharpness across the entire frame. Experimenting with different f-stops helps photographers understand how aperture influences their shots, making it a critical skill for manual mode photography.
Mastering Shutter Speed for Perfect Motion Capture
Shutter speed, the duration the camera’s shutter remains open, is crucial for capturing motion. A slower shutter speed (e.g., 1 second) creates blur, ideal for conveying movement in scenes like waterfalls or moving vehicles. Conversely, a fast shutter speed (e.g., 1/1000th of a second) freezes action, perfect for sports or wildlife photography. Balancing shutter speed with aperture and ISO ensures proper exposure without overcompensating. To master motion capture, experiment with different speeds: use a tripod for slow speeds to avoid camera shake, and pan alongside moving subjects for a sharp focus with a blurred background. Understanding how shutter speed affects motion empowers photographers to creatively control the dynamic between sharpness and blur, enhancing the visual narrative of their images.
ISO Settings: Balancing Light and Noise
ISO settings determine the camera sensor’s sensitivity to light, allowing photographers to shoot in various lighting conditions. Lower ISO values (e.g., ISO 100) are ideal for bright environments, producing images with minimal noise. Higher ISOs (e.g., ISO 6400) are used in low-light situations but may introduce digital noise or grain. Balancing ISO with aperture and shutter speed is key to achieving optimal exposure without compromising image quality. Modern cameras handle high ISOs better, reducing noise and expanding creative possibilities. Understanding ISO’s role in the exposure triangle helps photographers make informed decisions, ensuring their images are sharp, clear, and free from unwanted artifacts, even in challenging lighting scenarios.

Advanced Camera Settings for Manual Control
Advanced camera settings like White Balance, Metering Modes, and Focus Modes provide precise control, enhancing accuracy and creativity in capturing images tailored to specific conditions and artistic visions.
White Balance: Achieving Accurate Colors
White balance is a critical setting in manual camera control that adjusts the color temperature of an image to match the lighting conditions, ensuring natural-looking colors. By default, cameras often struggle to accurately capture the true hues of a scene, especially under artificial or mixed lighting. Understanding white balance allows photographers to eliminate unwanted color casts and achieve more realistic results. Common presets include Daylight, Tungsten, Fluorescent, and Cloudy, each tailored to specific lighting environments. Additionally, the Custom White Balance option enables precise calibration using a white or gray card, ensuring optimal color accuracy. Properly setting white balance not only enhances the visual appeal of photos but also reduces post-processing time. Whether shooting indoors or outdoors, mastering this setting is essential for professional-looking images with consistent and accurate color representation.
Metering Modes: How to Measure Light Effectively
Metering modes are essential tools in manual camera settings for accurately measuring light and ensuring proper exposure. Different metering modes tailor light measurement to specific situations, optimizing image quality. The most common modes include Multi-pattern, which analyzes the entire scene for balanced exposure; Center-weighted, focusing on the central area with less emphasis on the edges; and Spot metering, measuring light from a small, precise section of the frame. Each mode serves unique purposes, such as capturing high-contrast scenes or isolating subjects. Understanding and selecting the right metering mode allows photographers to achieve precise control over exposure, reducing overexposure or underexposure. By mastering these modes, photographers can enhance their ability to adapt to various lighting conditions, ensuring consistently well-exposed and visually appealing images in both simple and complex environments.
Focus Modes: Manual vs. Autofocus Techniques
Focus modes are critical in manual camera settings, allowing photographers to control how their camera achieves sharpness. Manual focus requires the photographer to adjust the lens directly, offering precise control, especially in low-light or complex compositions. Autofocus, on the other hand, automatically adjusts the lens for quick and convenient focusing, ideal for dynamic or fast-moving subjects. Understanding when to use each mode is key to achieving sharp images. Manual focus excels in scenarios where autofocus may struggle, such as with low contrast or stationary subjects. Autofocus is advantageous for sports, wildlife, or portraits, where speed and accuracy are essential. Mastery of these techniques enables photographers to adapt to various shooting conditions, ensuring sharp and professional-looking results. Learning to switch between modes and combining them with other manual settings enhances creativity and precision in photography.
Common Mistakes to Avoid in Manual Mode
Common mistakes in manual mode include overexposure, underexposure, and incorrect focus. Avoid these errors by carefully adjusting aperture, shutter speed, and ISO for optimal results.
Overexposure and Underexposure: How to Fix Them
Overexposure occurs when too much light enters the camera, resulting in washed-out highlights and loss of detail. To fix this, reduce the exposure by adjusting the aperture to a smaller f-stop, increasing the shutter speed, or lowering the ISO. Conversely, underexposure happens when there’s insufficient light, leading to dark images. Correct this by opening the aperture, slowing the shutter speed, or increasing the ISO. Using the camera’s histogram can help identify these issues. Overexposure will show clipped highlights on the right side of the graph, while underexposure will cluster pixels on the left. Adjust settings to balance the histogram for a well-exposed image. Additionally, use exposure compensation to fine-tune your settings without changing the aperture, shutter, or ISO directly. Proper adjustments ensure vibrant, detailed photos with accurate lighting and color representation.
Tips for Avoiding Blurry or Noisy Photos
Blurry photos often result from camera shake or fast-moving subjects. To prevent this, use a tripod for stability, employ faster shutter speeds (at least 1/500th of a second), or enable image stabilization if available. For noisy photos, which occur in low-light conditions, keep the ISO as low as possible and use noise reduction features. Shooting in RAW format allows better post-processing to minimize grain. Proper lighting is key; natural light or external flash can reduce the need for high ISOs. Avoid over-relying on autofocus; manual focus ensures sharpness. Clean your camera sensor regularly to prevent dust spots. Lastly, review your photos on the camera’s LCD to immediately address any issues. By combining these techniques, you can capture sharp, noise-free images consistently.